
August 2018
| Any good paint job starts with disassembly. A color change usually means door jambs and engine compartment need to be painted as well. With the Tiger, this will also include the trunk and insides of the doors. This much new paint means TOTAL disassembly. The car has never been apart to this degree. | 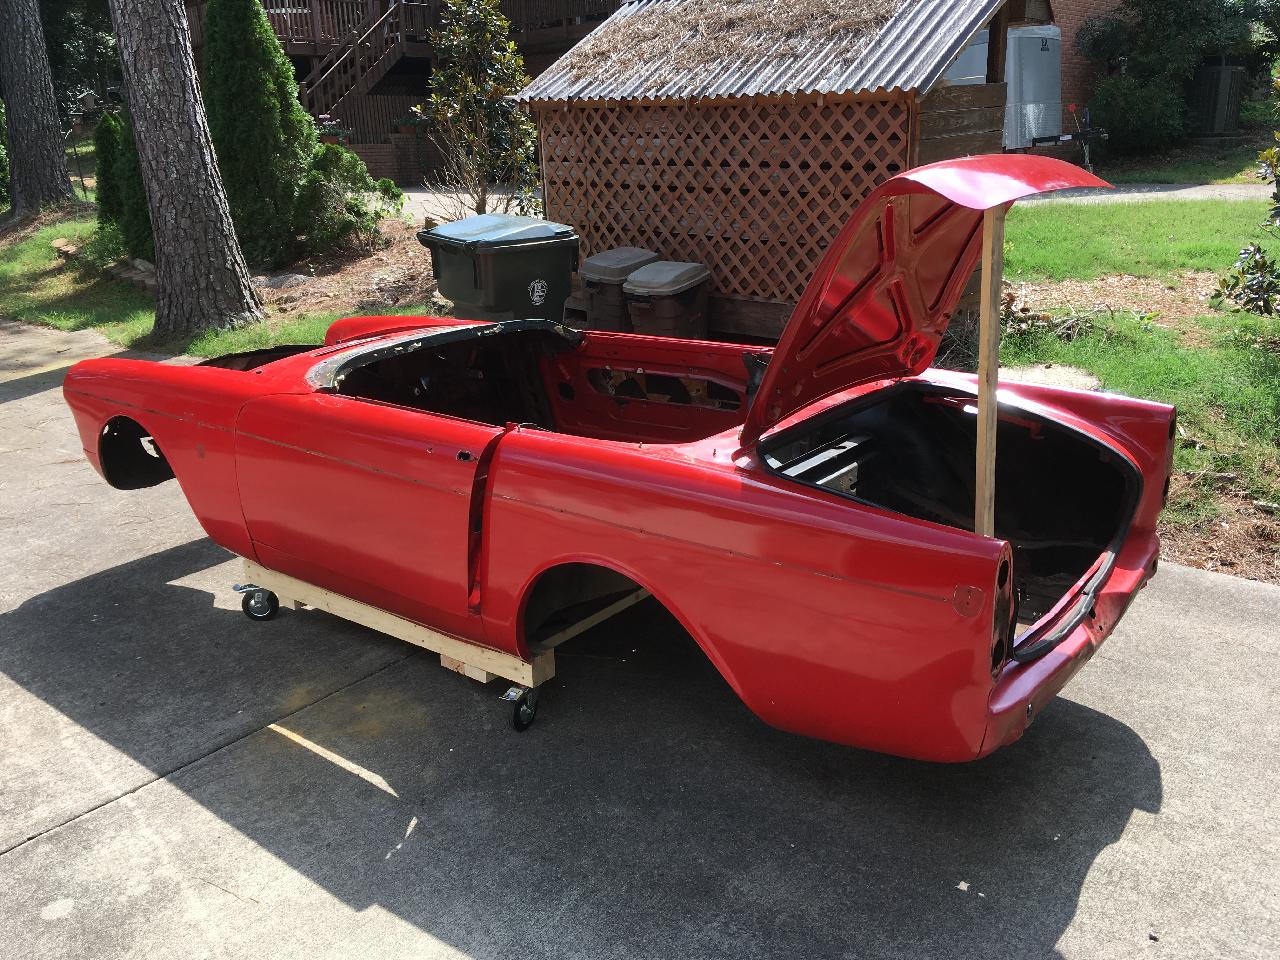 |
| The previous refurbishment was done on my college student budget, this time I'm not as limited. The car will be a resto-mod, with original looks and some modern updated for safety and performance. All the original bits will be saved. |  |
| The engine compartment, it should be body color. You can see I cheated last time and painted it black. This time it will be done properly to match the car | 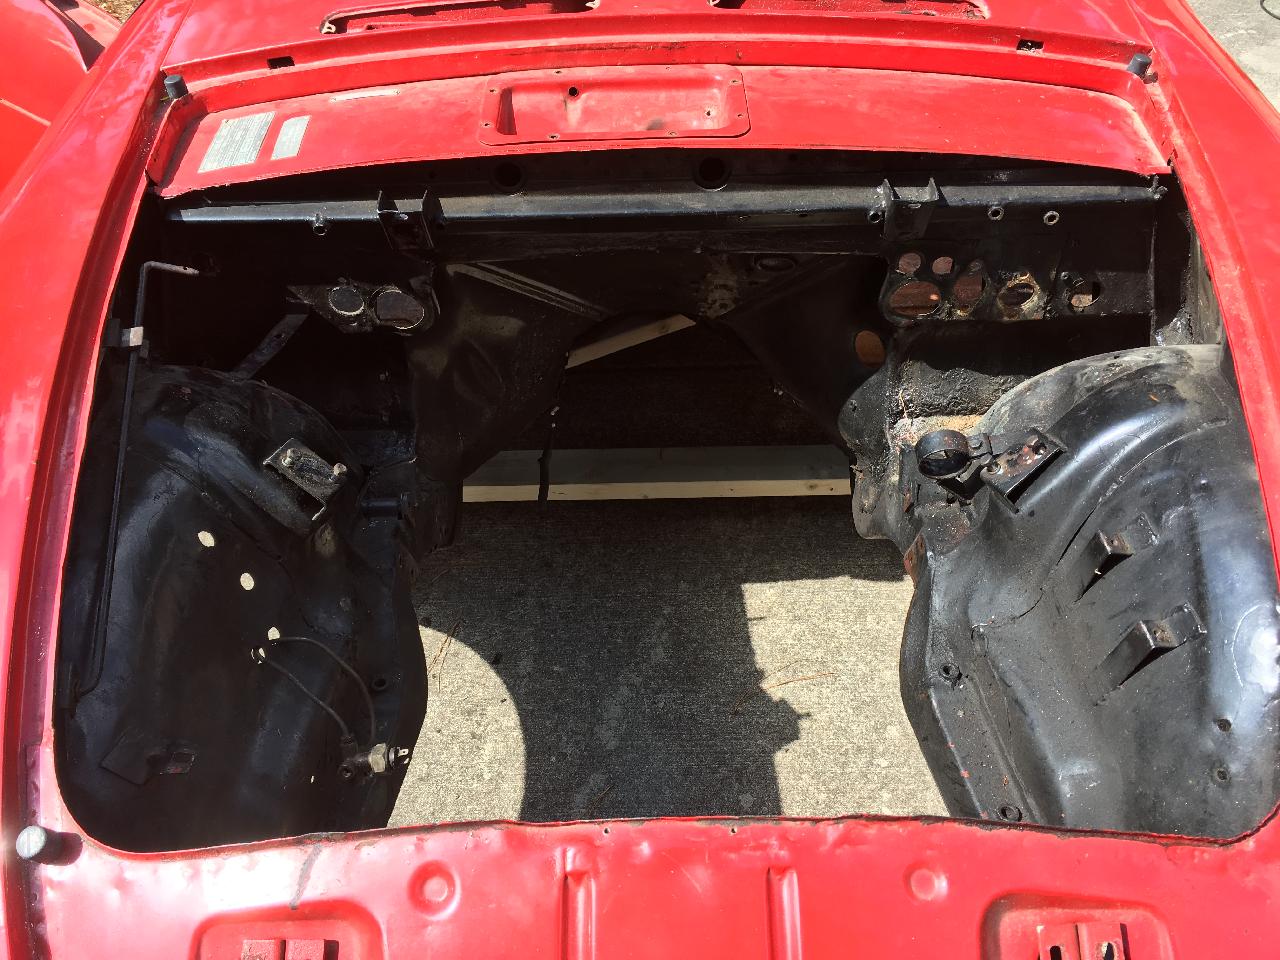 |
| Trunk floor has some rust where the battery sat, but fortunately I have a spare floor that will be used to fix this one. | 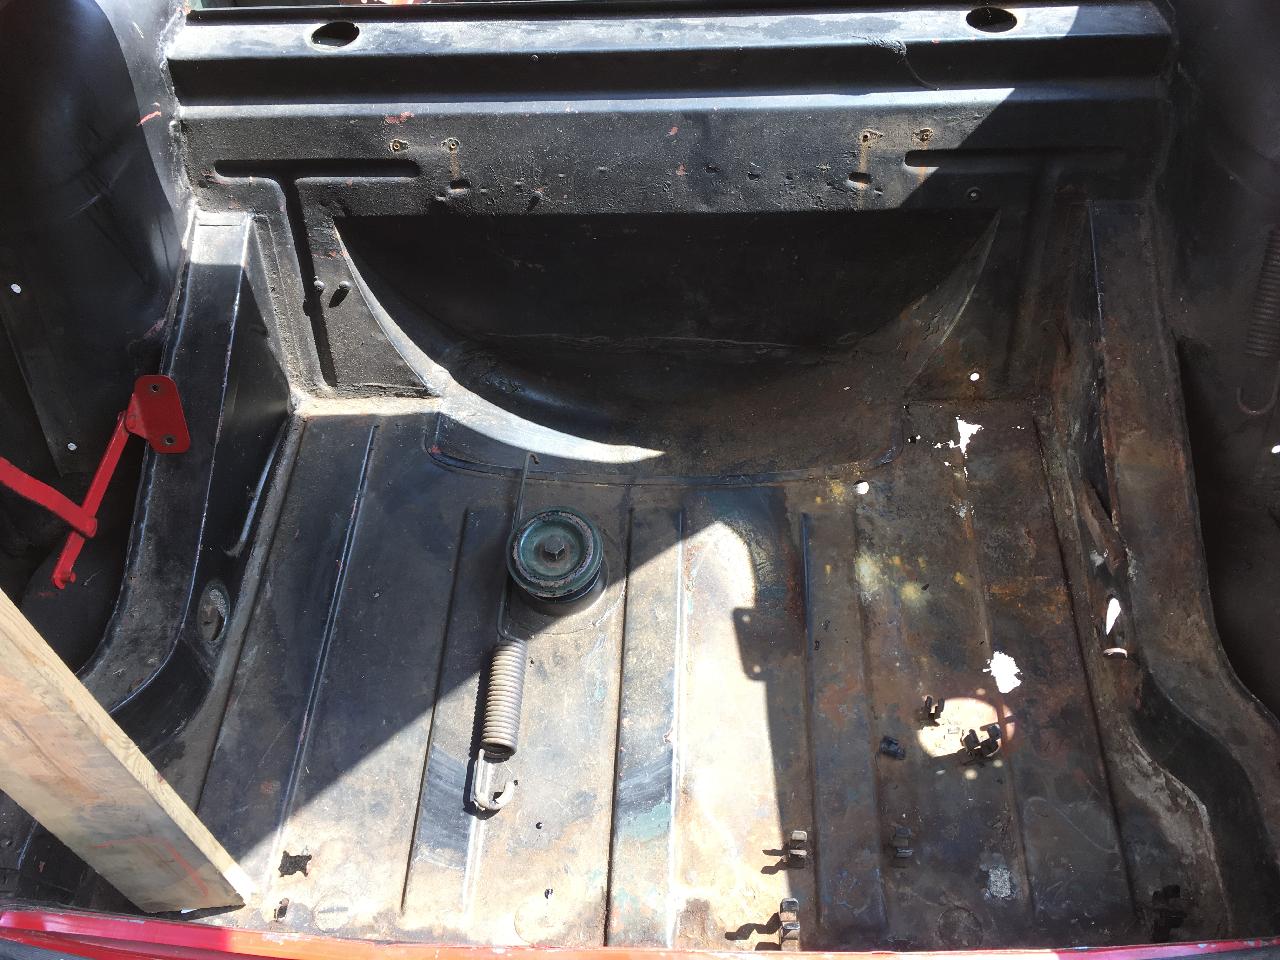 |
| Stripping paint is not hard, but it does take time. Four hours this morning yielded a bare front fender and door. I'll be working my way around the car. Since I did this also in the 1980s, there is only one layer of paint on the car, so stripping it is easier this time around. | 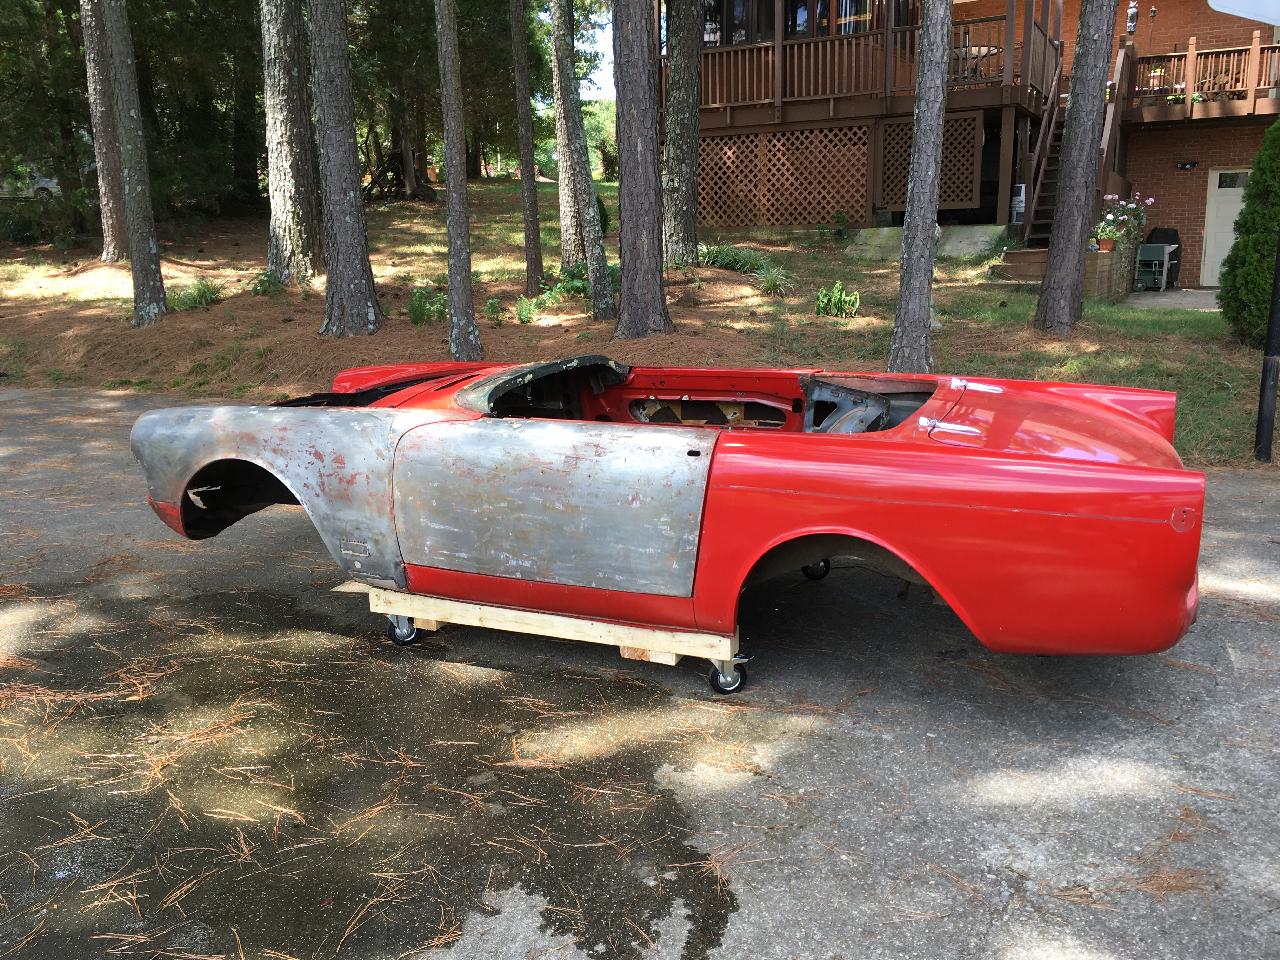 |
| Okay, it is harder where plastic filler is involved, and stripping this rear quarter took as long as the door and front fender. This quarter panel had been replaced long before I got the car, probably in the 1970s. The damaged panel was cut away, and the new one was pop-riveted on top of the old one. I couldn't afford to do it over in the 1980s, so the repair was left as it was. This time, however, both quarter panels will be replaced properly. | 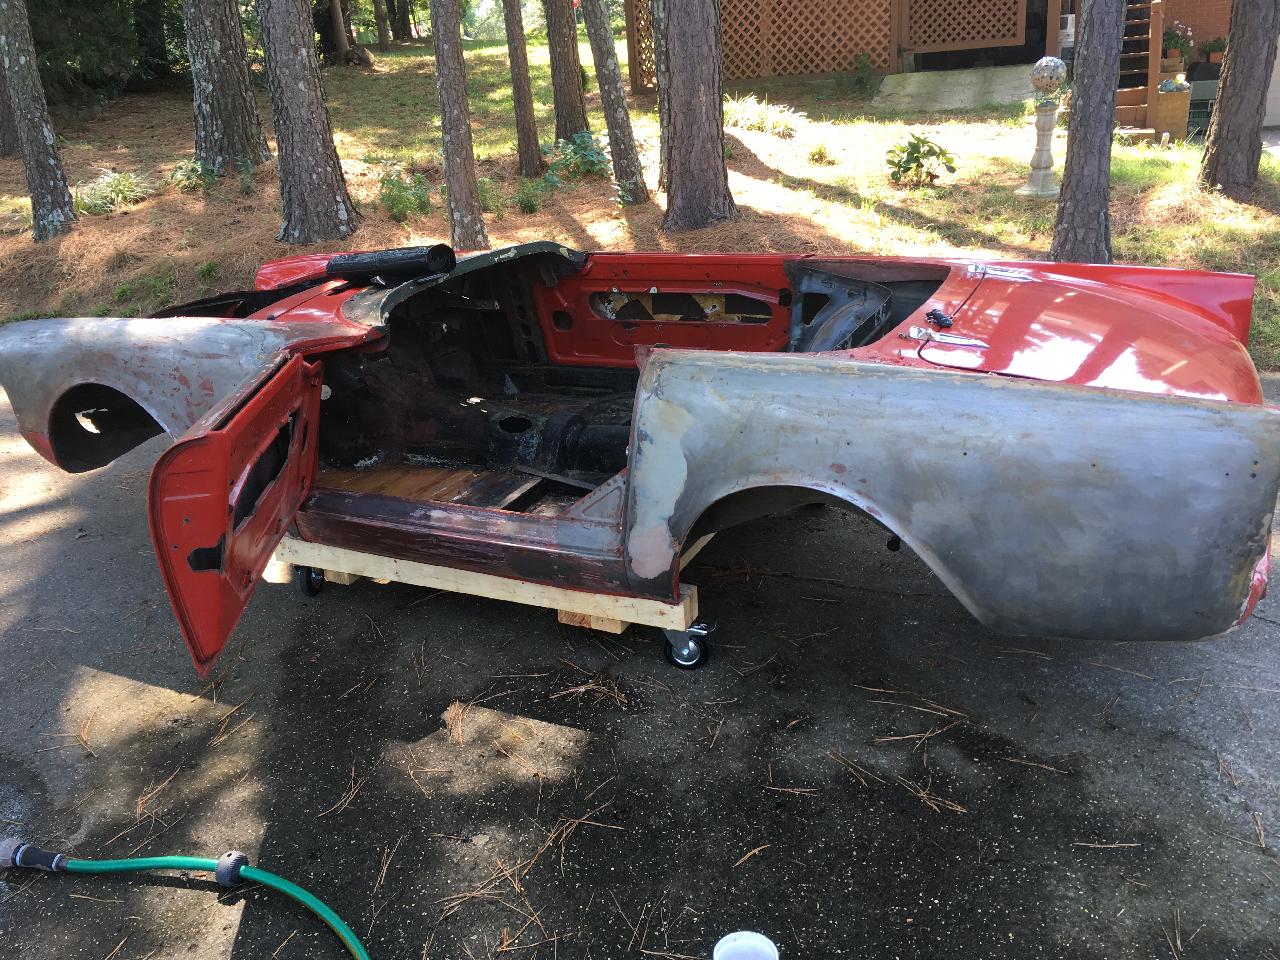 |
| August 12th, got a little more paint removed. This goes quickly where there is JUST paint, but the any plastic filler goes slowly. | 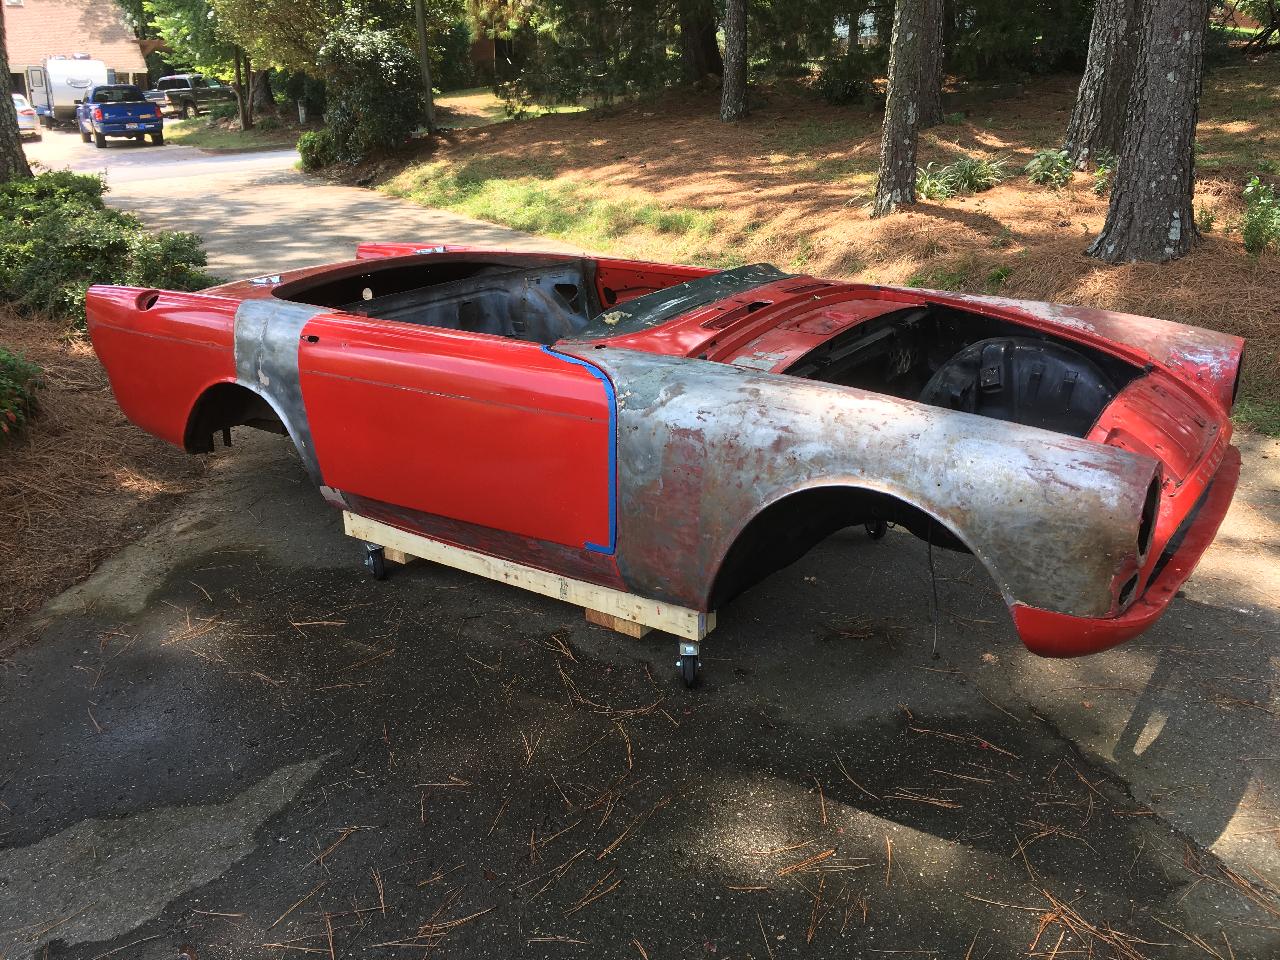 |
| Here you can see where the door jamb and forward part of the rear quarter have been replaced previously. The door jamb was wrinkled up from a side impact. The previous repair was shockingly bad, and I had this partial quarter panel replaced by a restoration shop in the 1980s.This right side door is not original to the car. It doesn't have the right interior clips for the GT trim that should be in this car, and has a small amount of rust where the door skin is attached to the frame. I'll be replacing it with a better one from my stash of Sunbeam parts. | 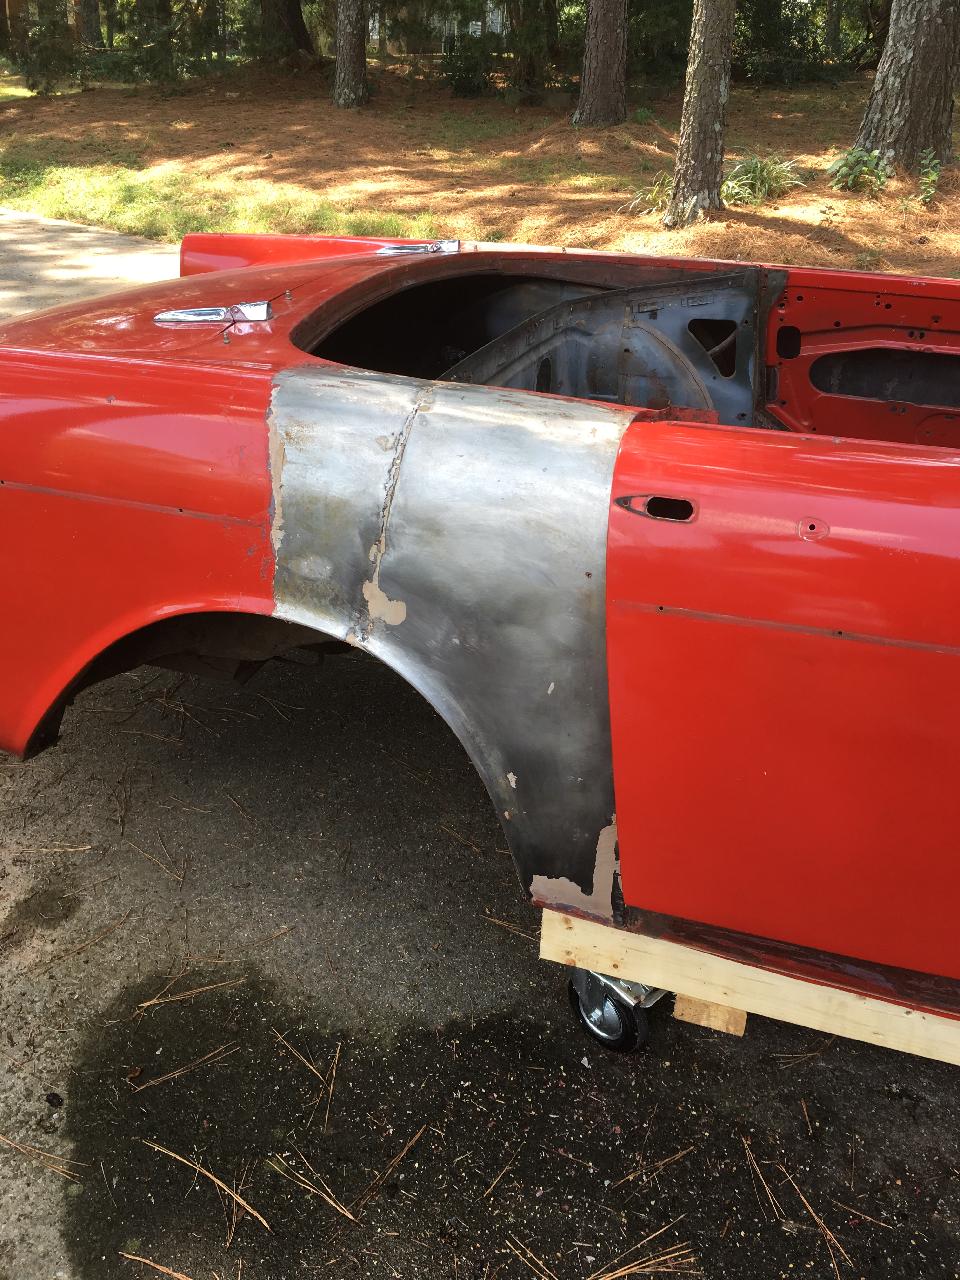 |
| My friend Mike came by today and stripped the hood and assisted on the other bits. This is boring work and I encouraged Mike to do something better, but I really appreciate the help! | 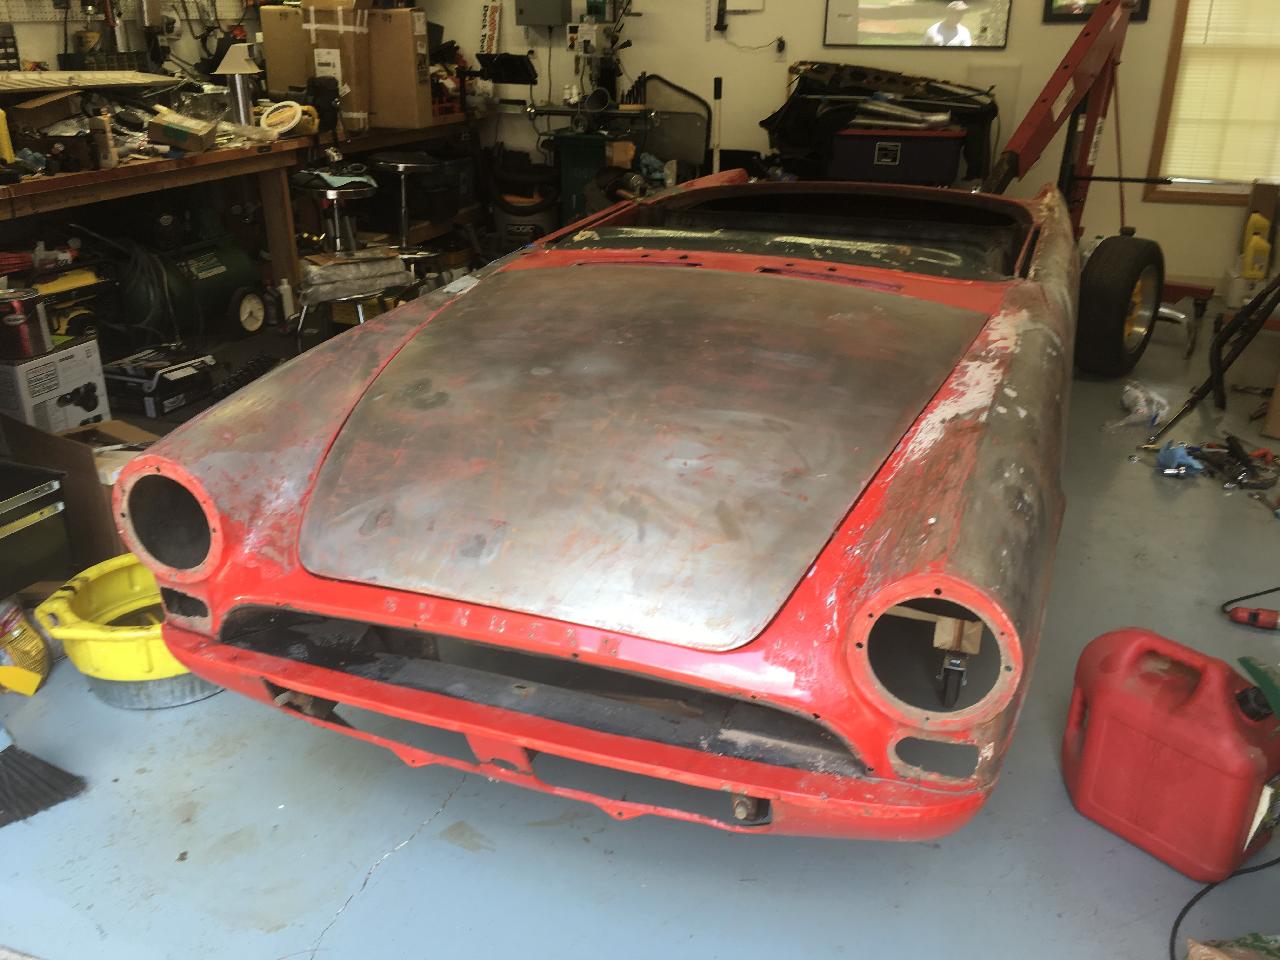 |
| August 18th, Mike came back and helped again, after which we worked on his daughter's Miata. We made significant progress on both projects. | 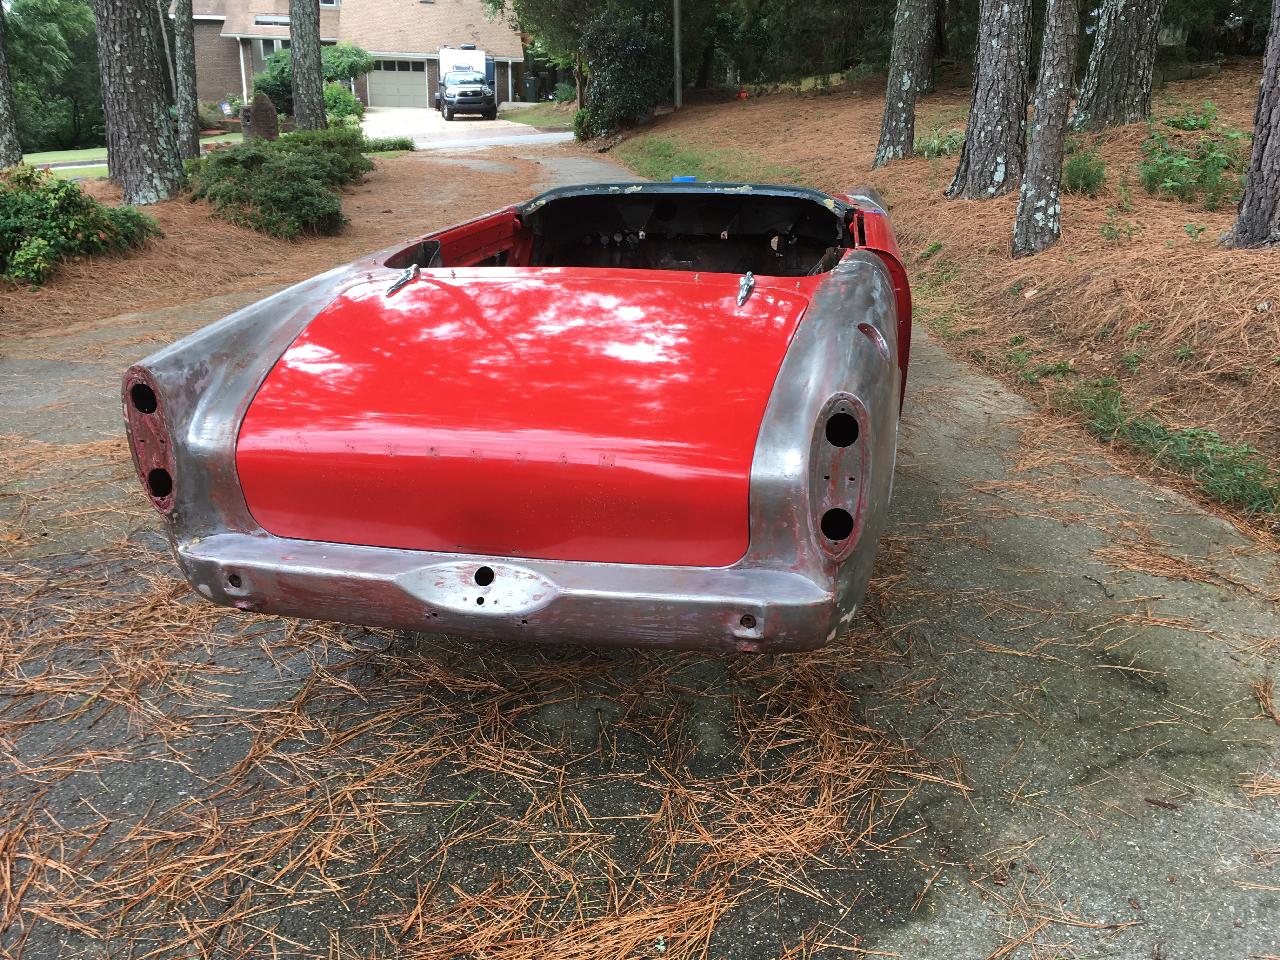 |
| August 19th, the light at the end of the tunnel. Mike and I did the cowl, area around the hood, and front pan. This is the bulk of the stripping. The passnger door and trunk will be replaced, so the only sizeable bits left are the inside of the driver's door, and the engine compartment. | 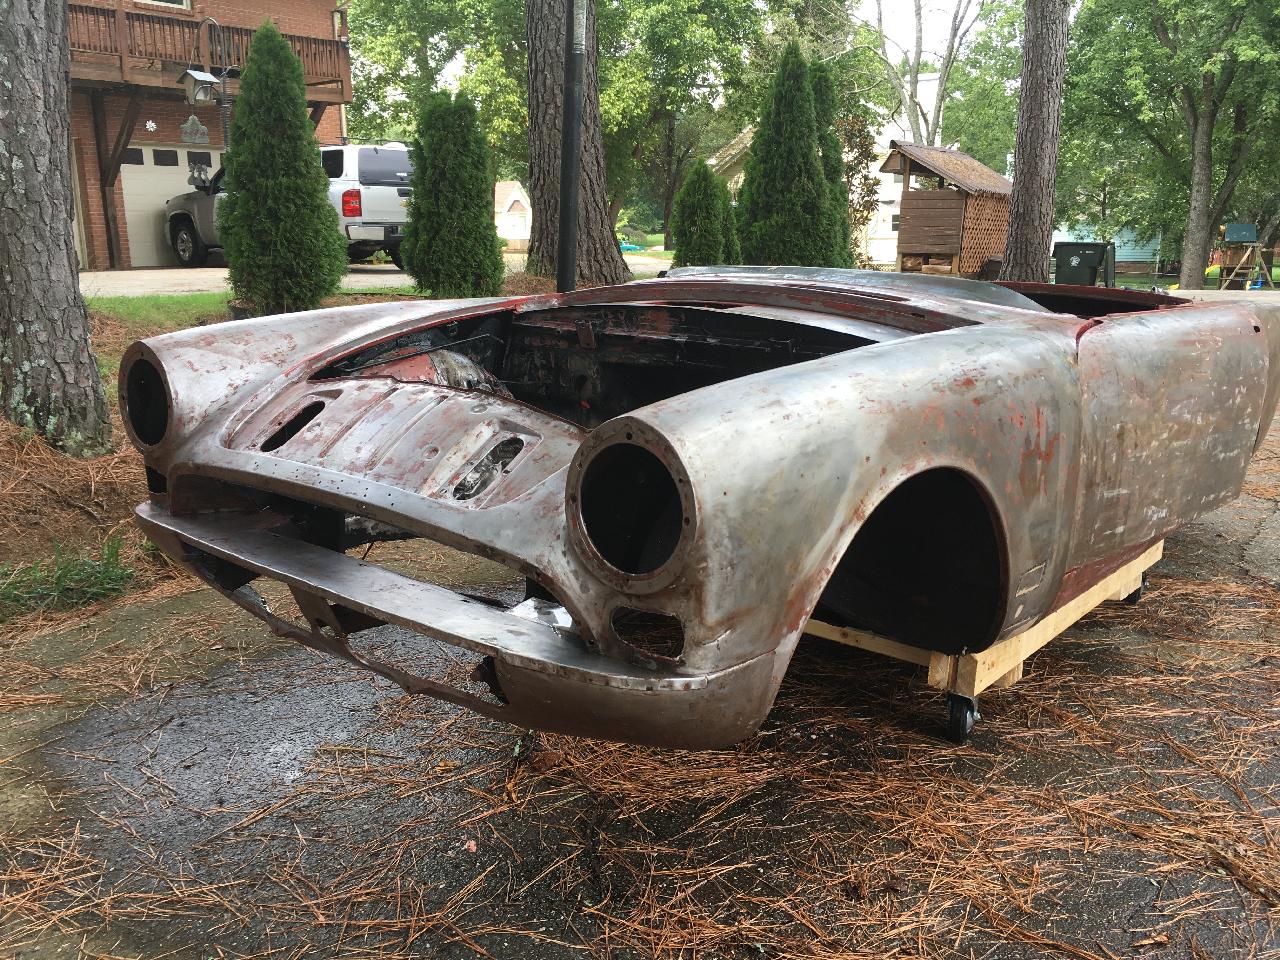 |
| Septermber 1st, The lower finishing strip for the grill area is normally attached by clipping it over rivets that have a unique head. The rivets need holes in the front apron that are inside the grill opening. The grill opening it too short vertically to allow a drill to get in there to drill the holes... |  |
| I was fortunate to find this right angle attachment on Amazon. It came with a short drill bit, and the job was done in 5 minutes. Sometimes there's just no substitute for the right tool. | 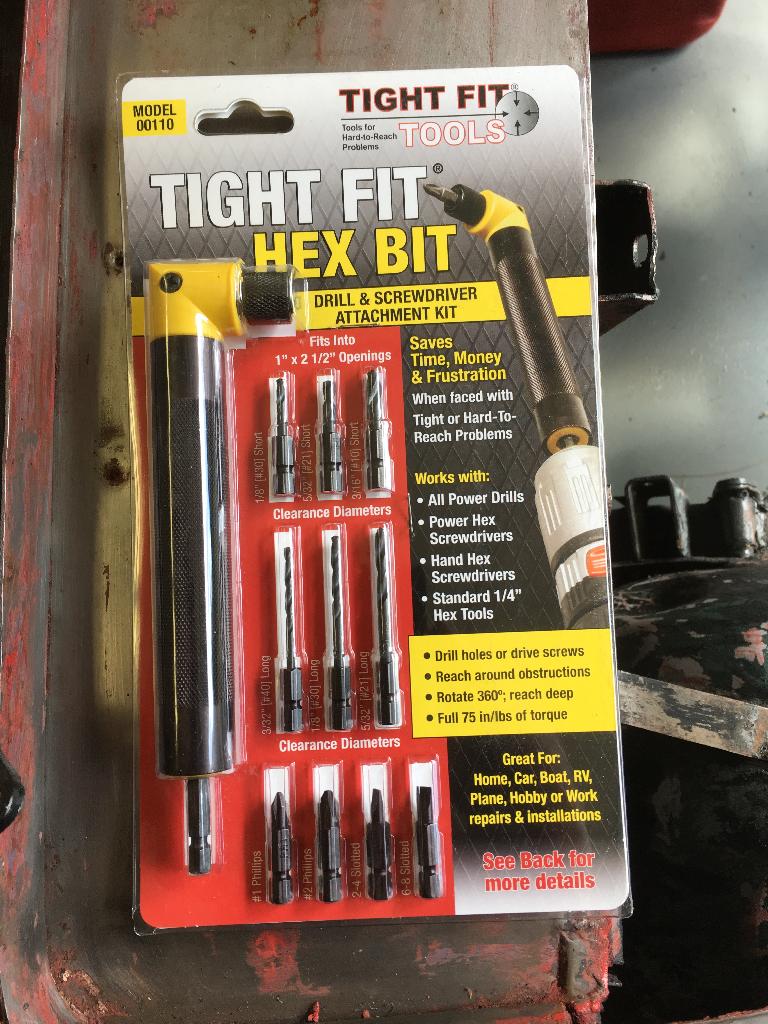 |
| Mike helped me remove the 'parts car' from the basement. This 1/2 Sunbeam Alpine has been stored there for 18 years, awaiting use for this restoration! | 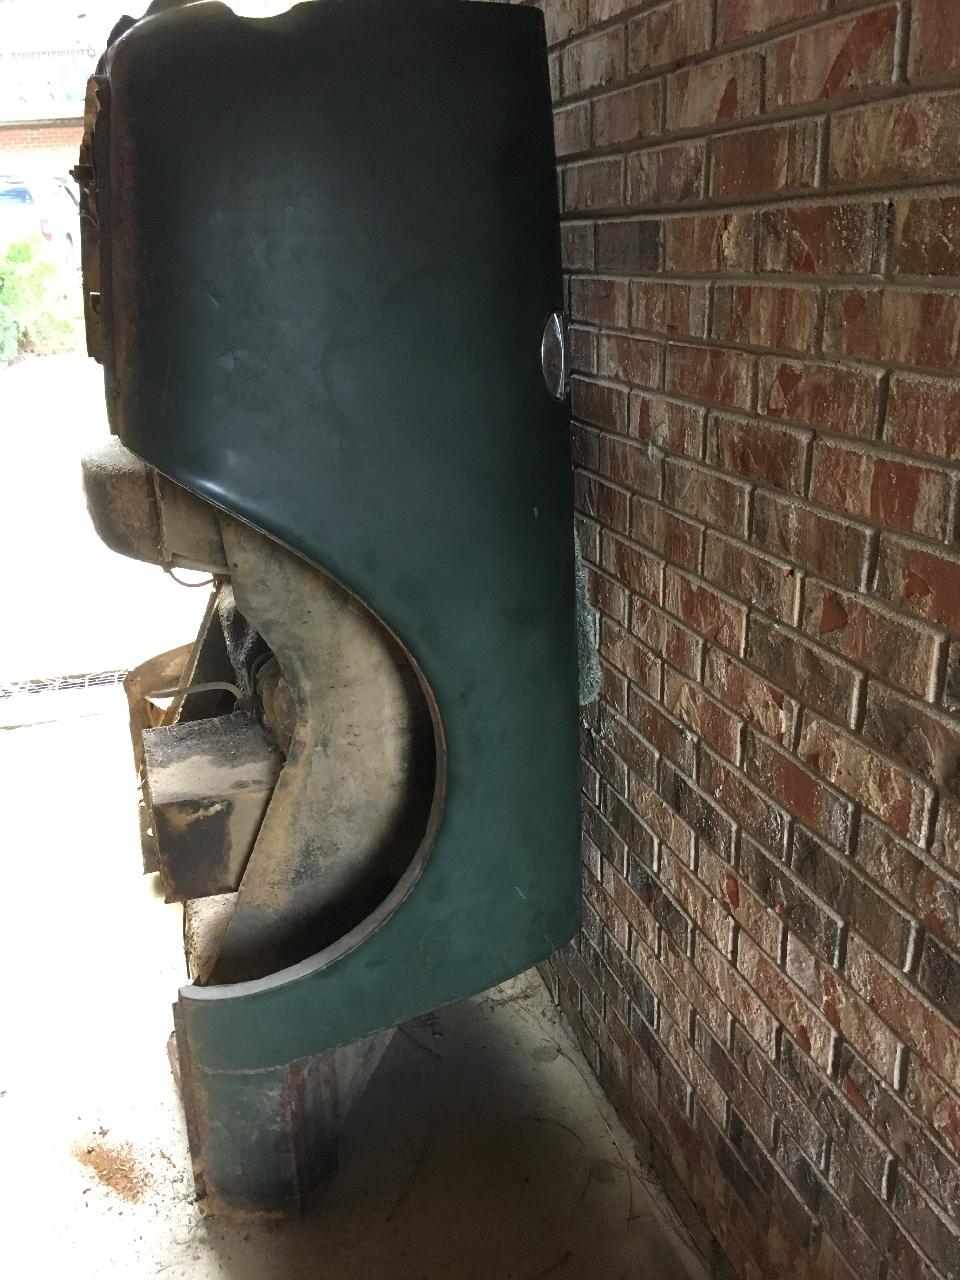 |
| September 8th, final details. Mike once again helped me strip the hardtop. | 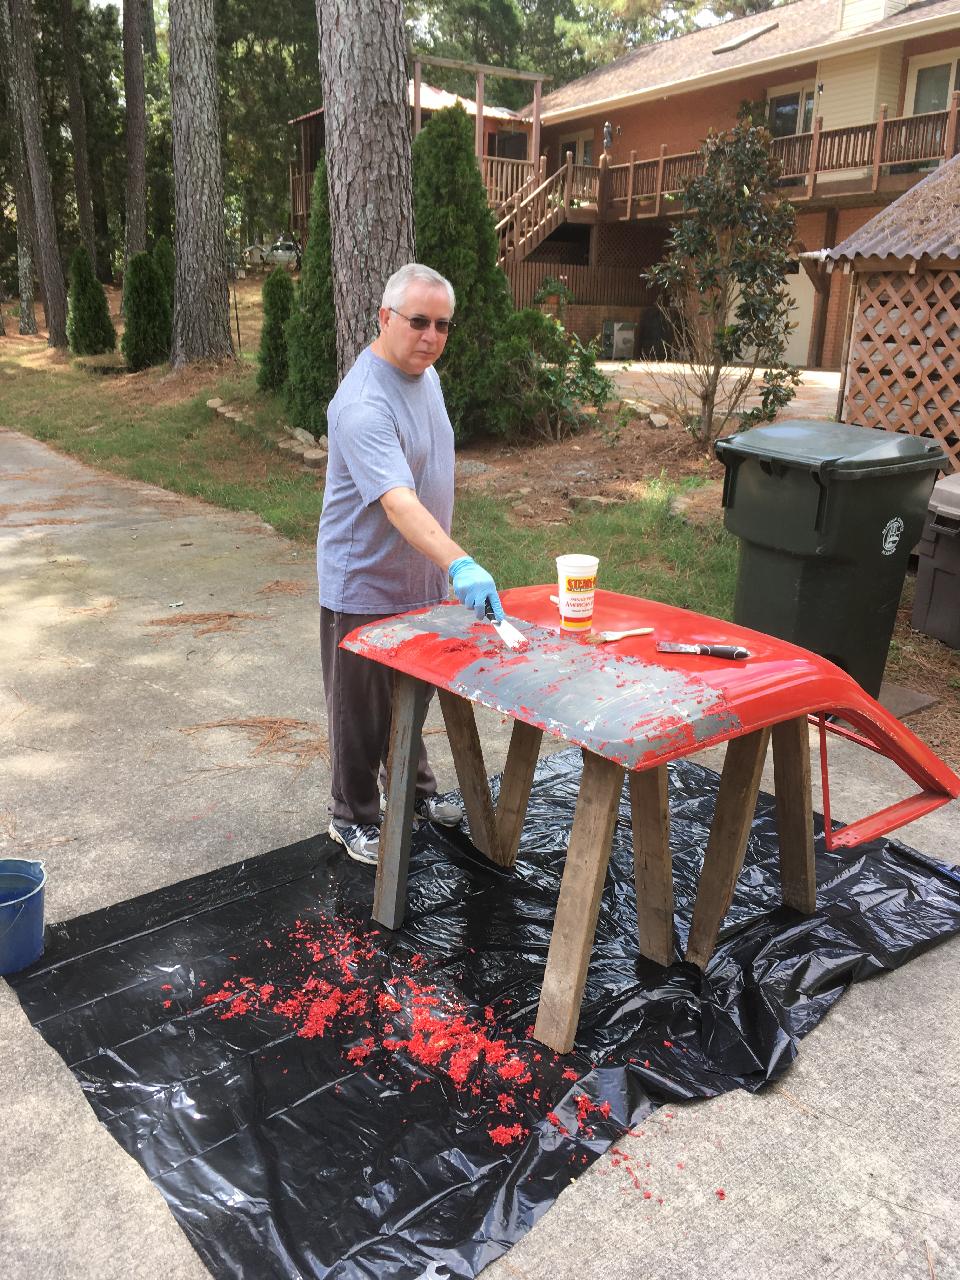 |
| Here is the hardtop in bare metal, a few seconds with a dual-action sander will have this looking like a freshly minted part. | 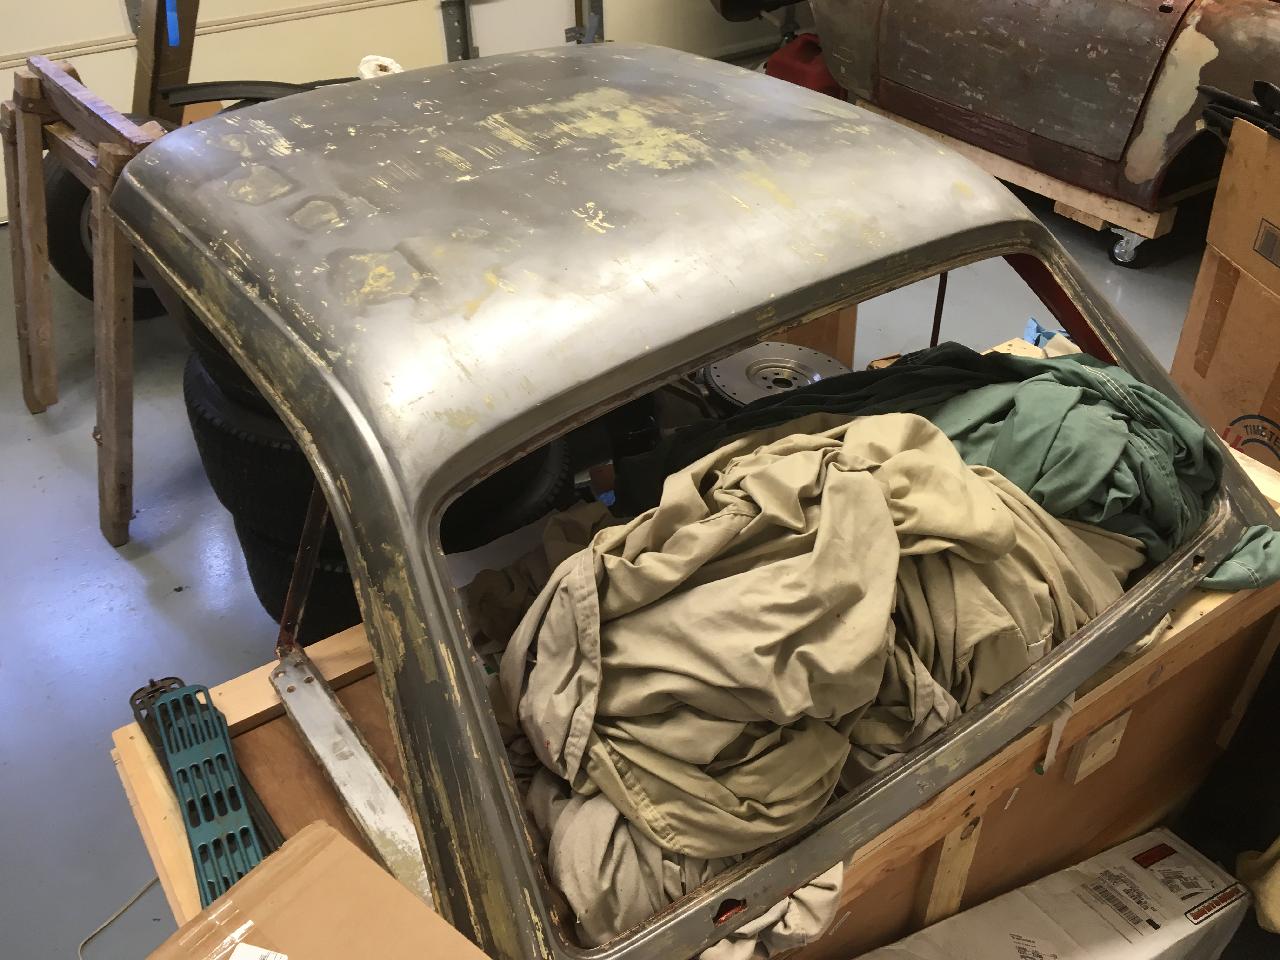 |