
November 2018
| Here are the semi-cruddy taillights from the car. | 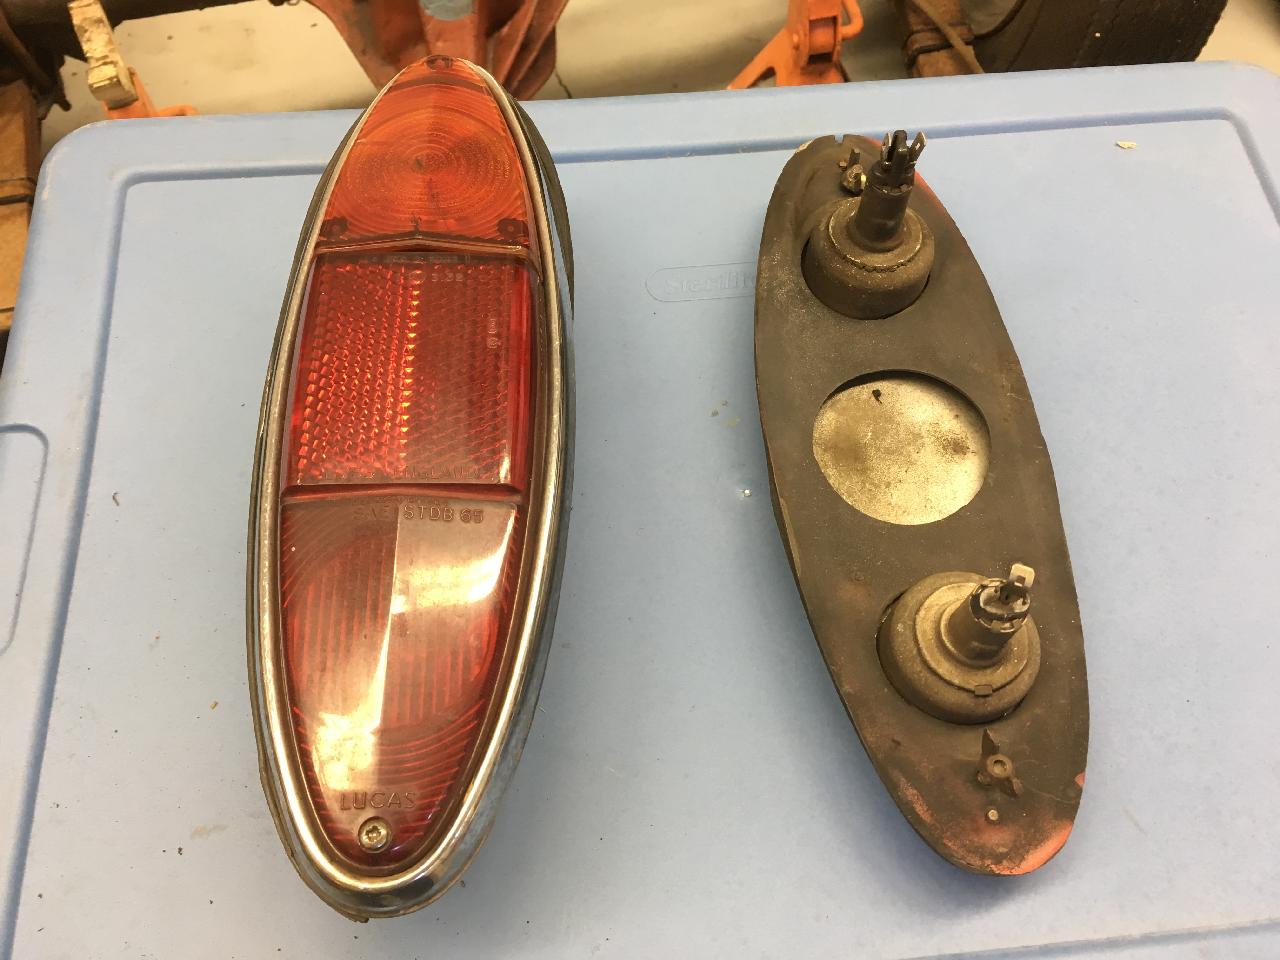 |
| The disassemble easily. Note, this is not the correct taillight assembly for the update I have planned. | 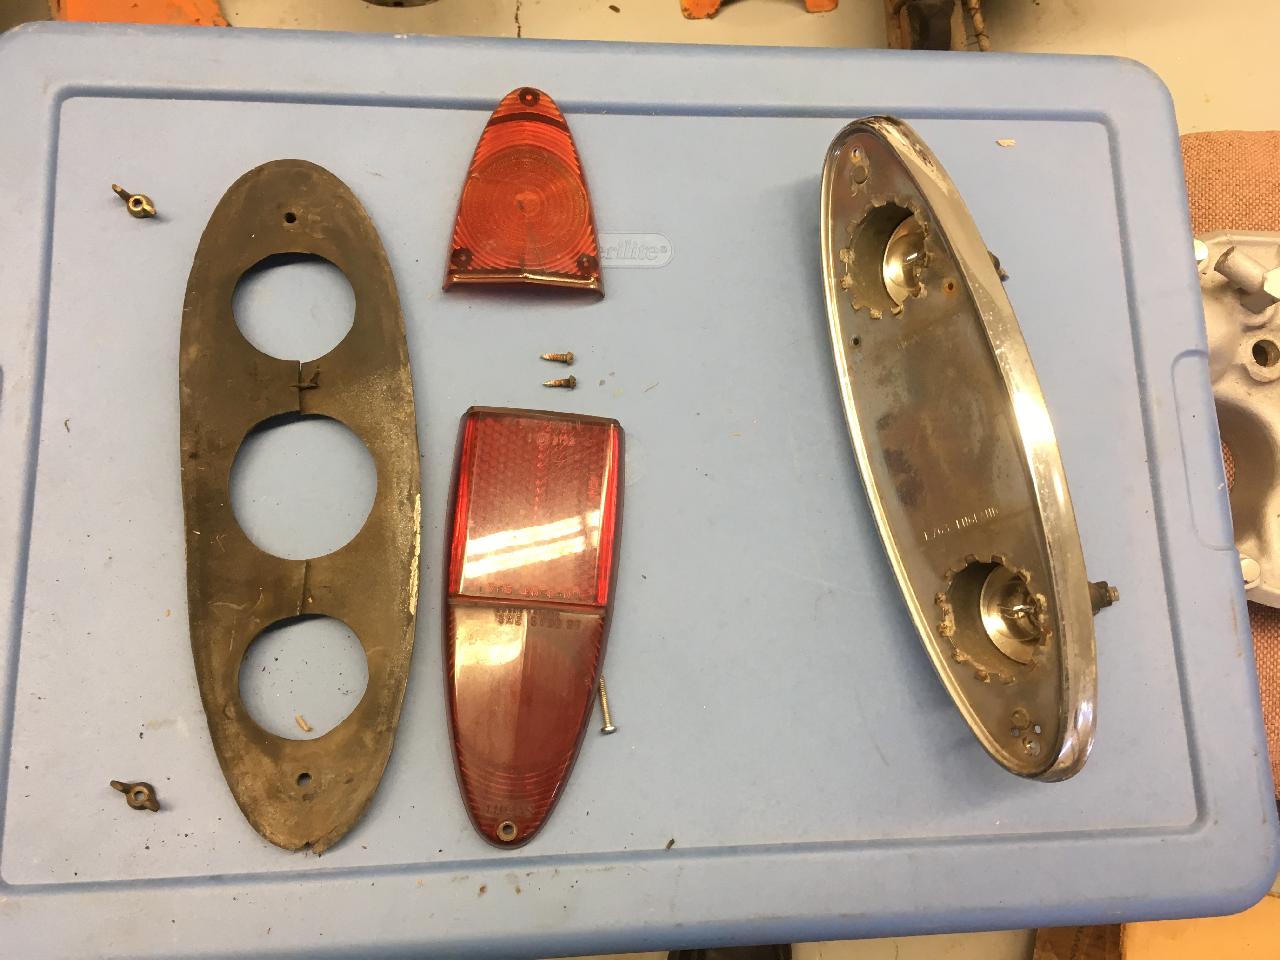 |
| If you have the correct taillight assemblies, the bulb holders will pop out without altering or damaging either the housings or the sockets. | 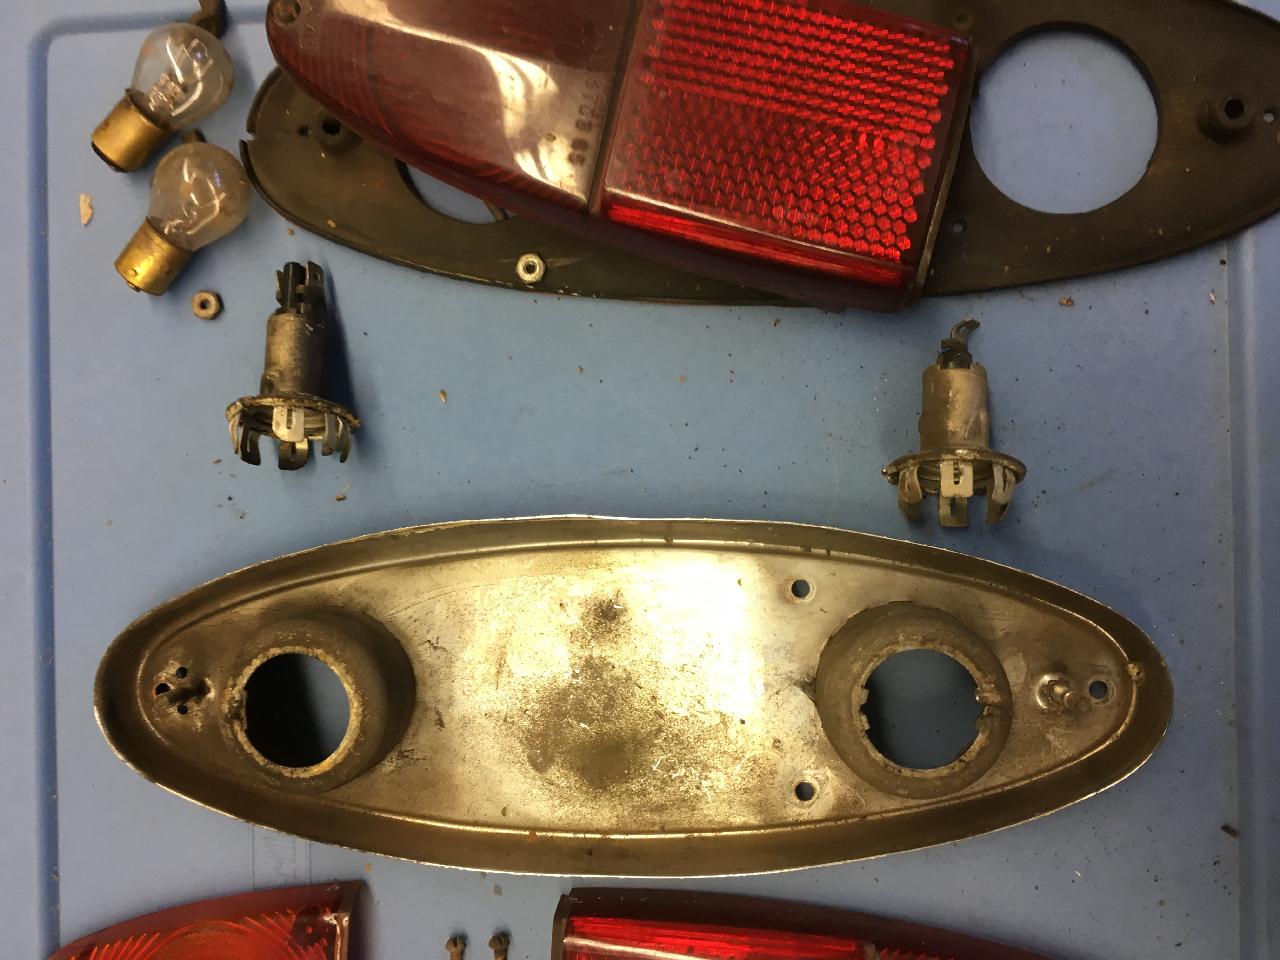 |
| These had 50 years of accumulated crud on them, but my bead-blast cabinet, with low pressure and worn out beads made the sockets and frame backs look like new. I don't think it would have hurt the chrome front, but elected to polish those by hand.. | 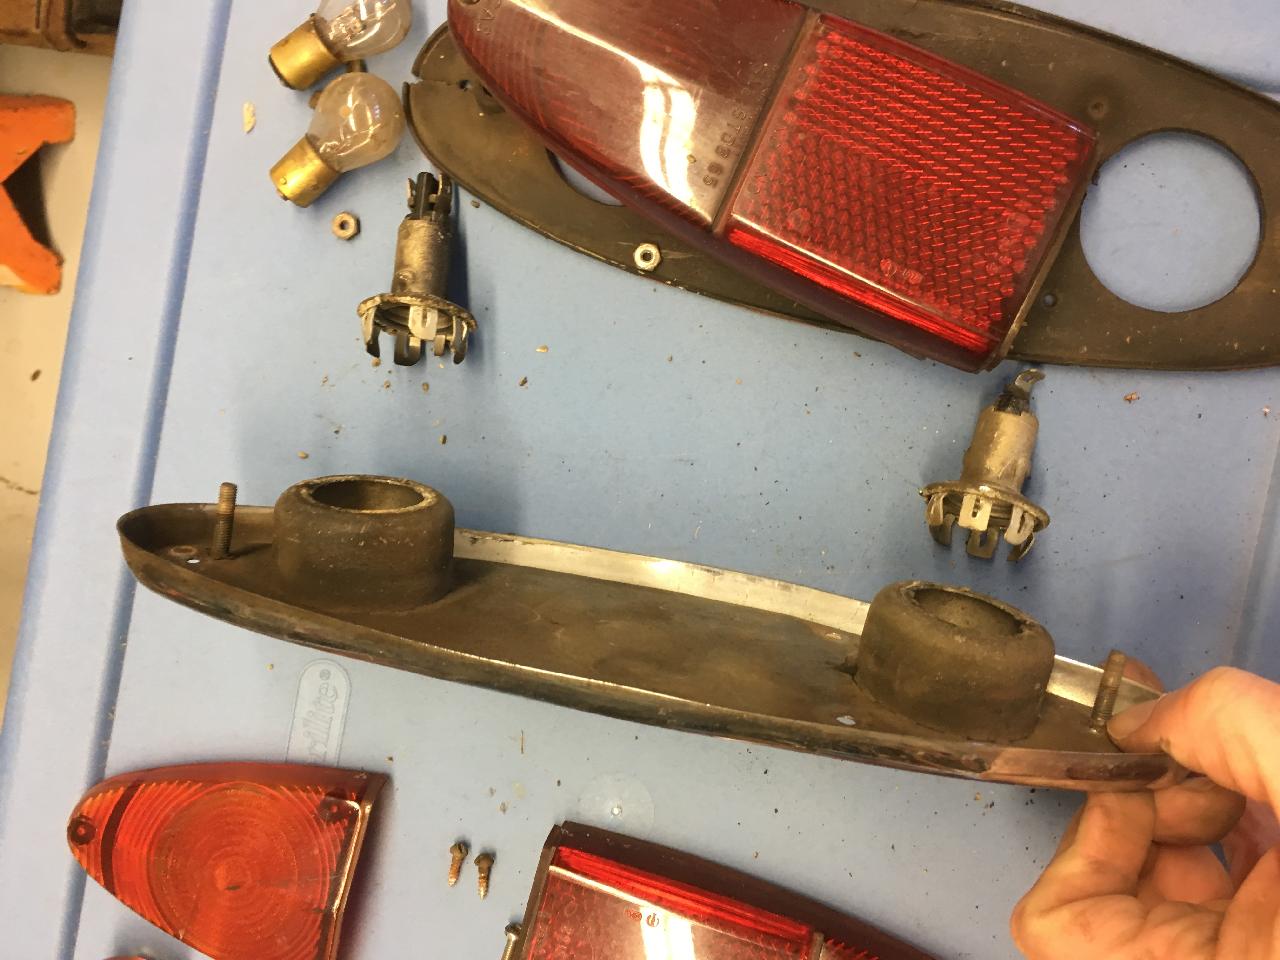 |
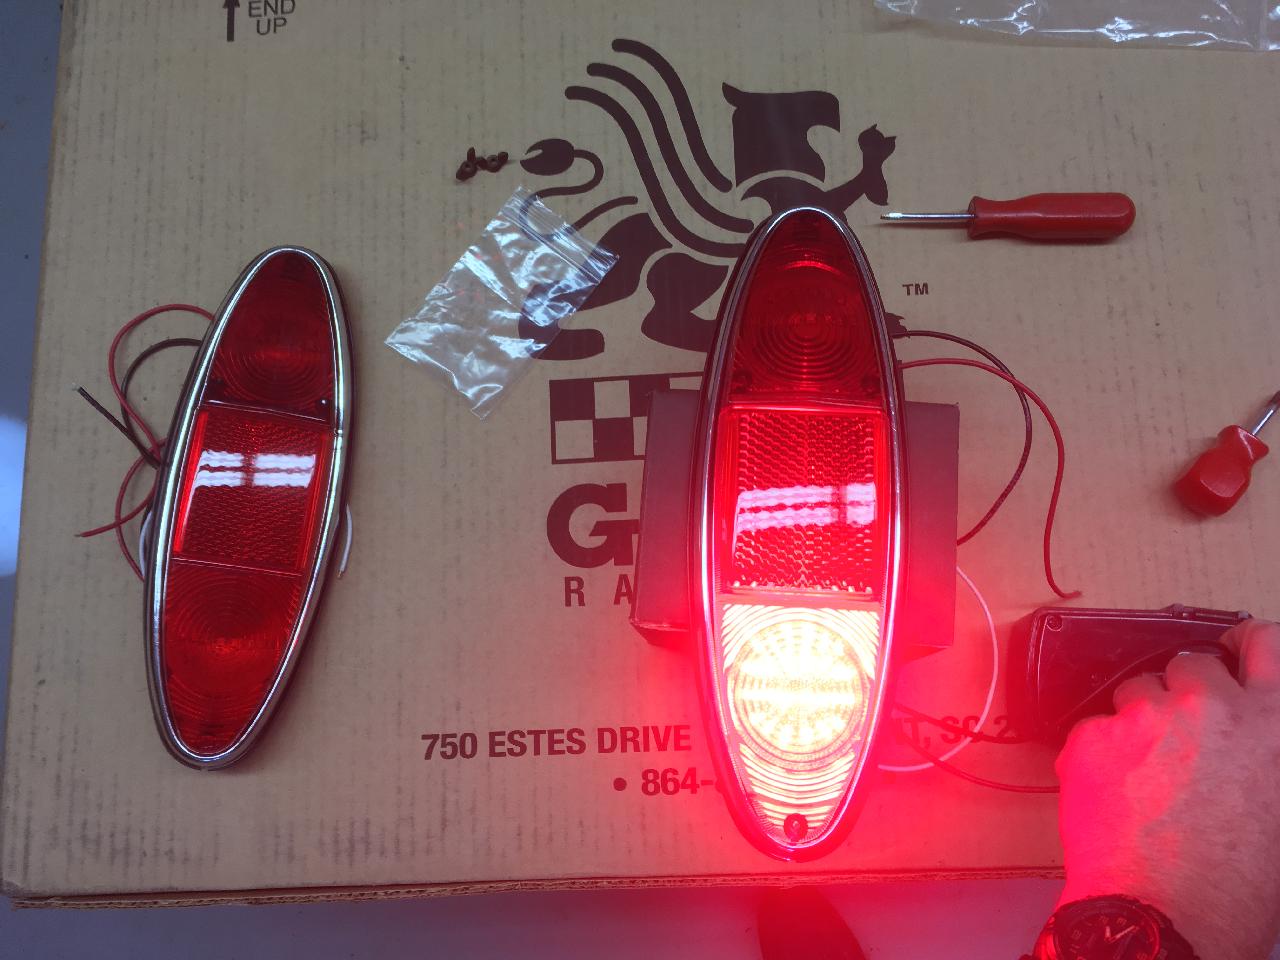
| I had two styles of taillights. L763 on the left does NOT have removable sockets. L654 on the right, is presumably an earlier taillight and probably corresponds to the taillight lenses with the inner screw fastenings L654 is preferable for this conversion (in my opinion) because it is entirely reversable. | 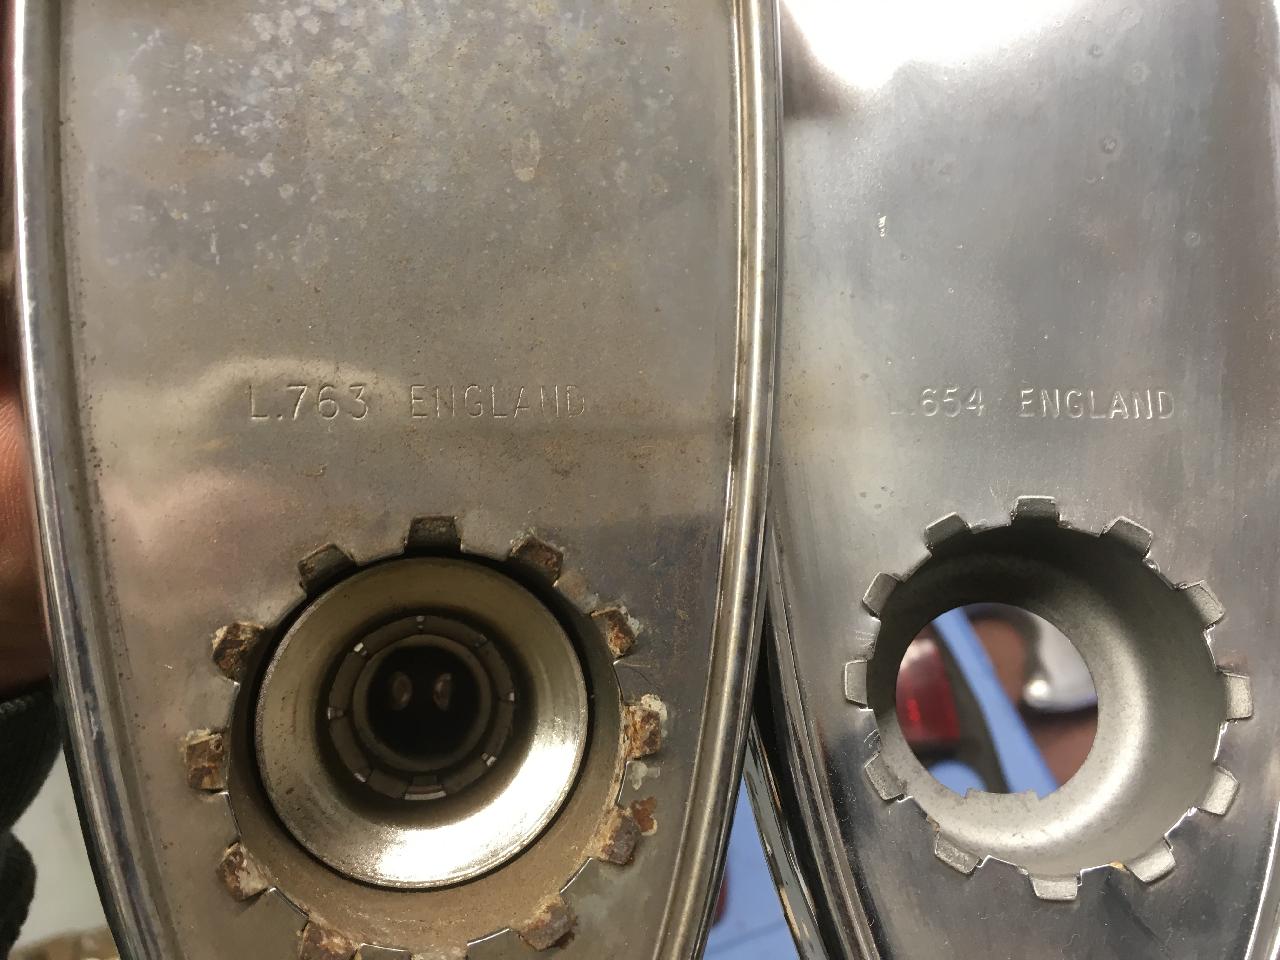 |
| Bulbs and sockets after cleaning and removal, these will be saved. | 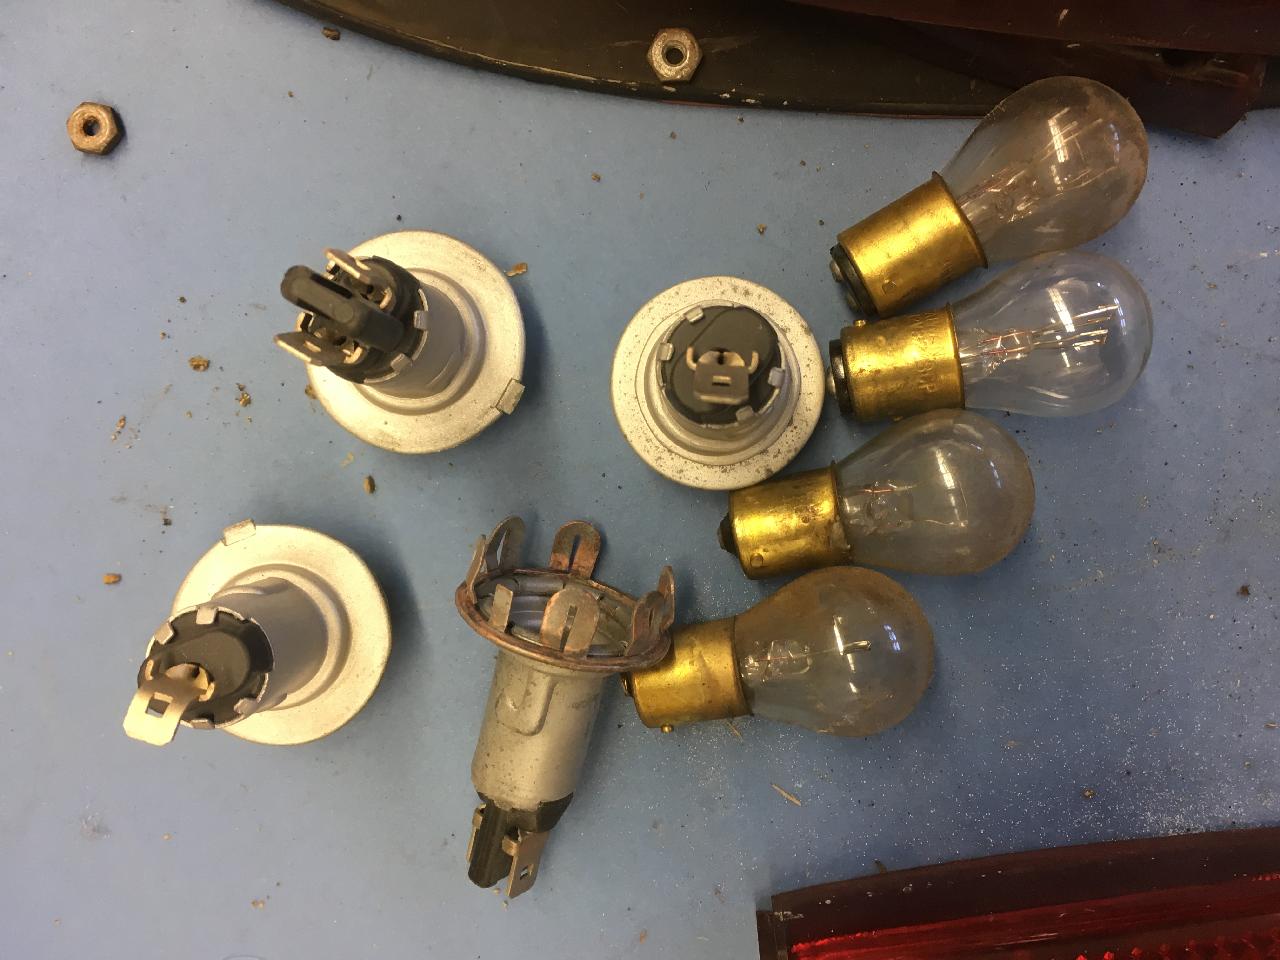 |
| The light on the left is already assembled, and all the components another are on the right. There are new gaskets,lenses and screws from Rick at Sunbeam Specialties, and LED panels from Gary at Vintageleds.com.Note, Gary will supply these terminated anyway you like, including bulb ends to plug into the bulb sockets. As I will be using a custom wiring harness, I asked him to leave them unterminated. | 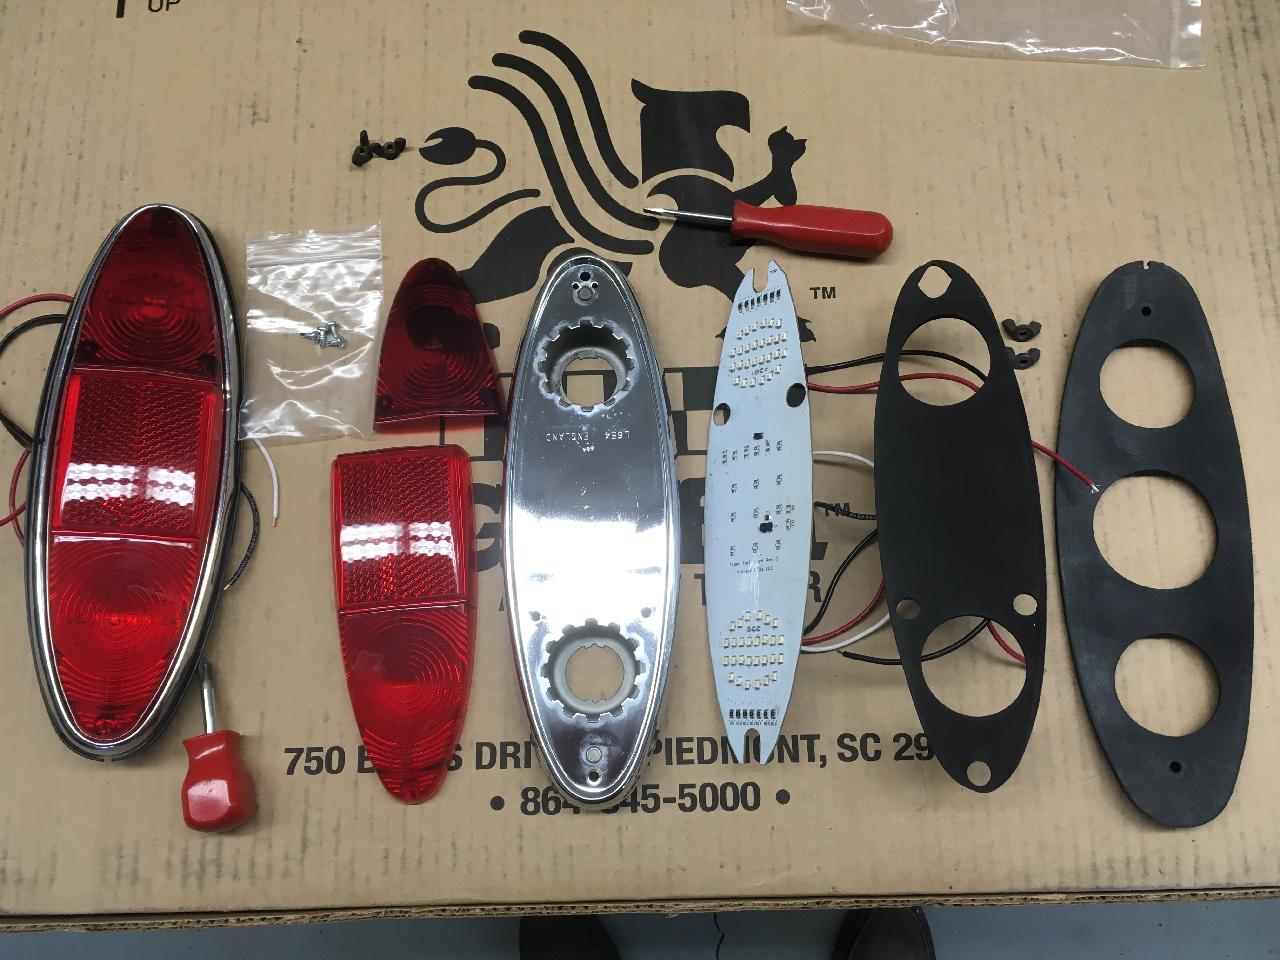 |
| The LED circuit board should go behind the lense gasket. Shown here it it is on top, but I will reverse it. The lenses are made to seat into the flexible gasket, so the board should be behind. |  |
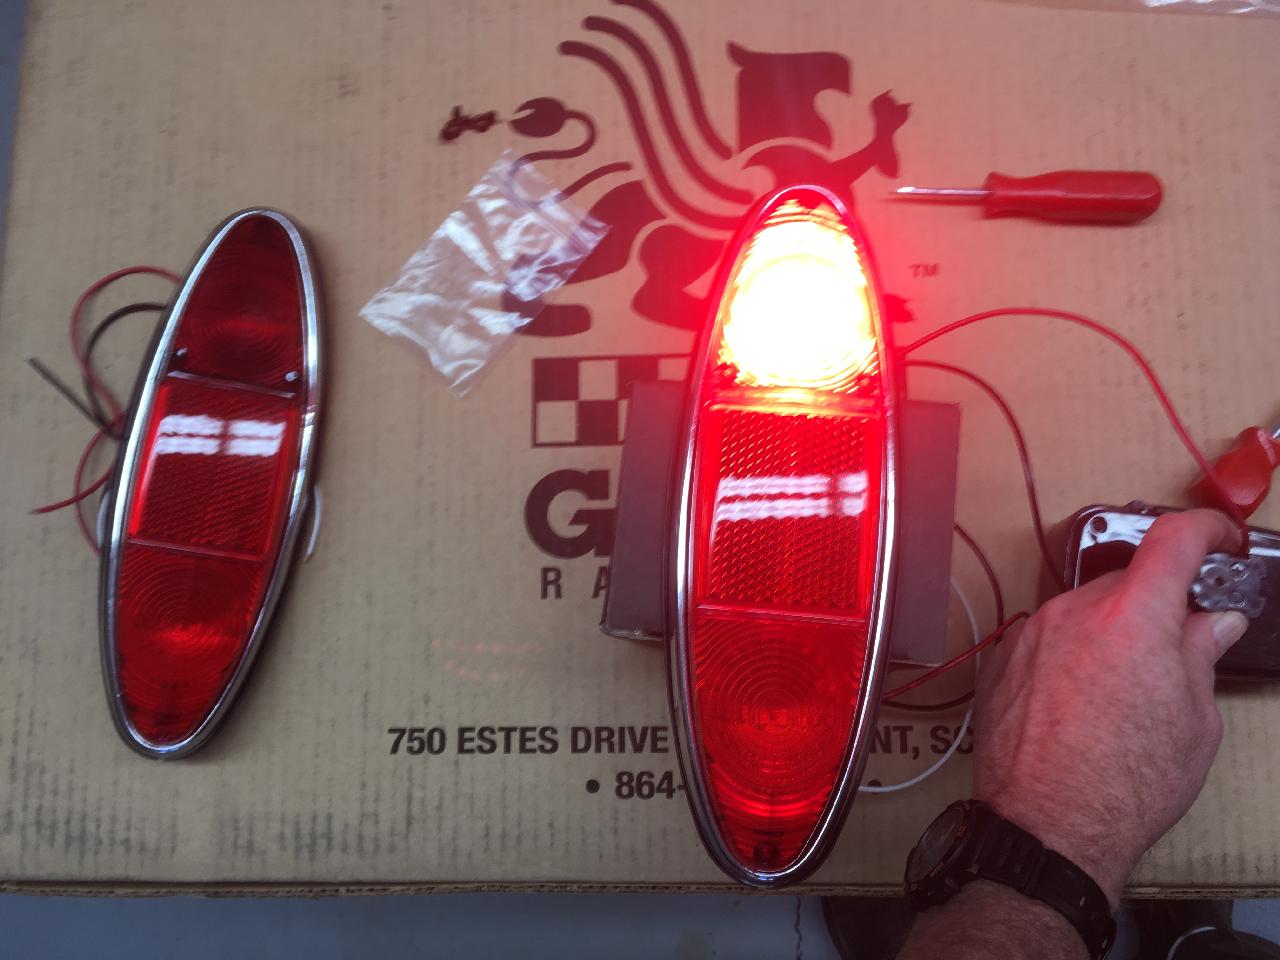
| Using the battery from my 12.6v cordless drill, I was able to bench test them. These babies are bright! A side-by-side comparison with bulbs will happen later. | 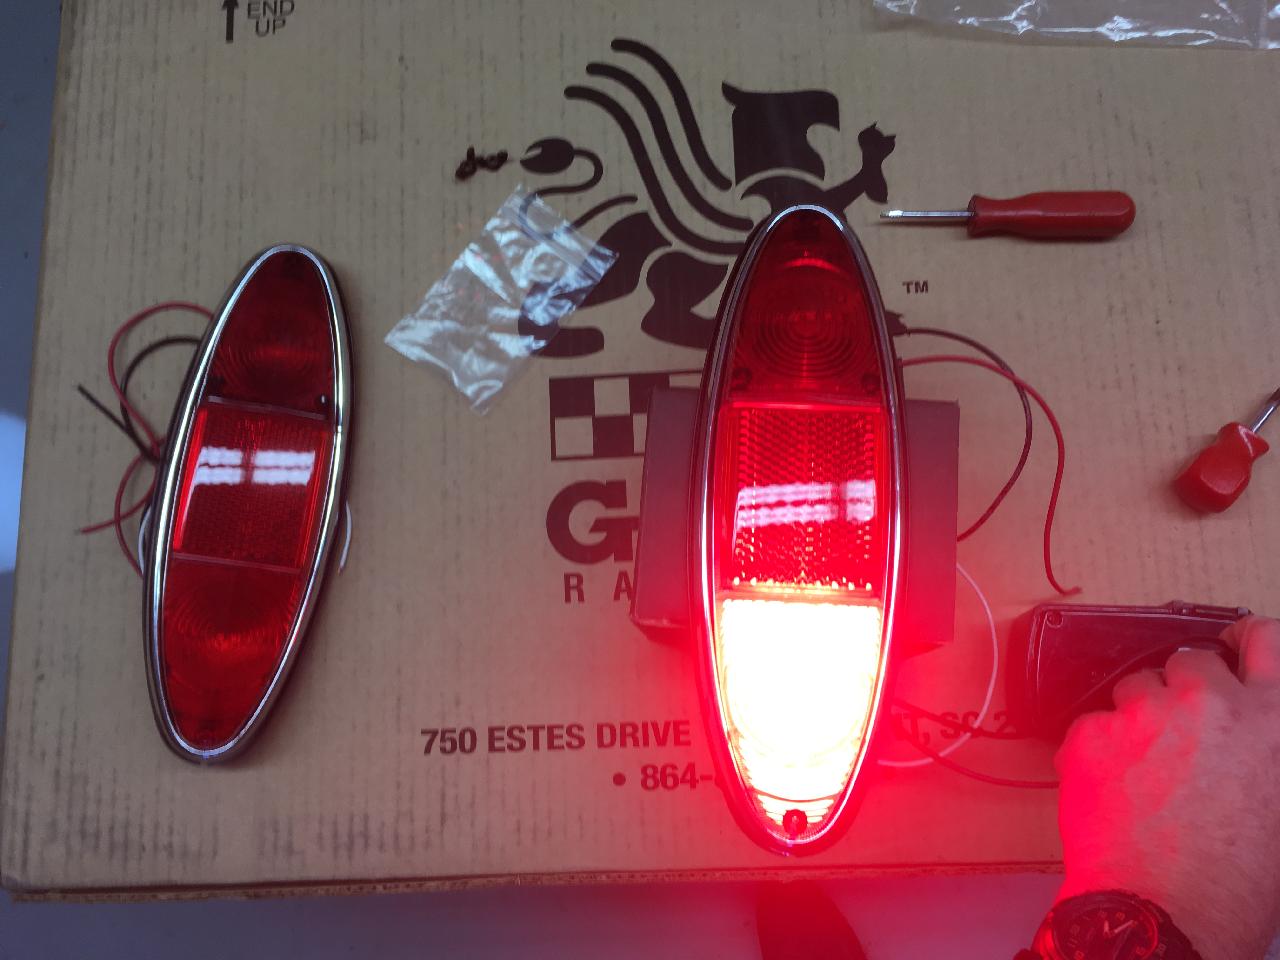 |
| . |  |
| . |  |
| The finished set of taillights, almost ready for reinstallation. | 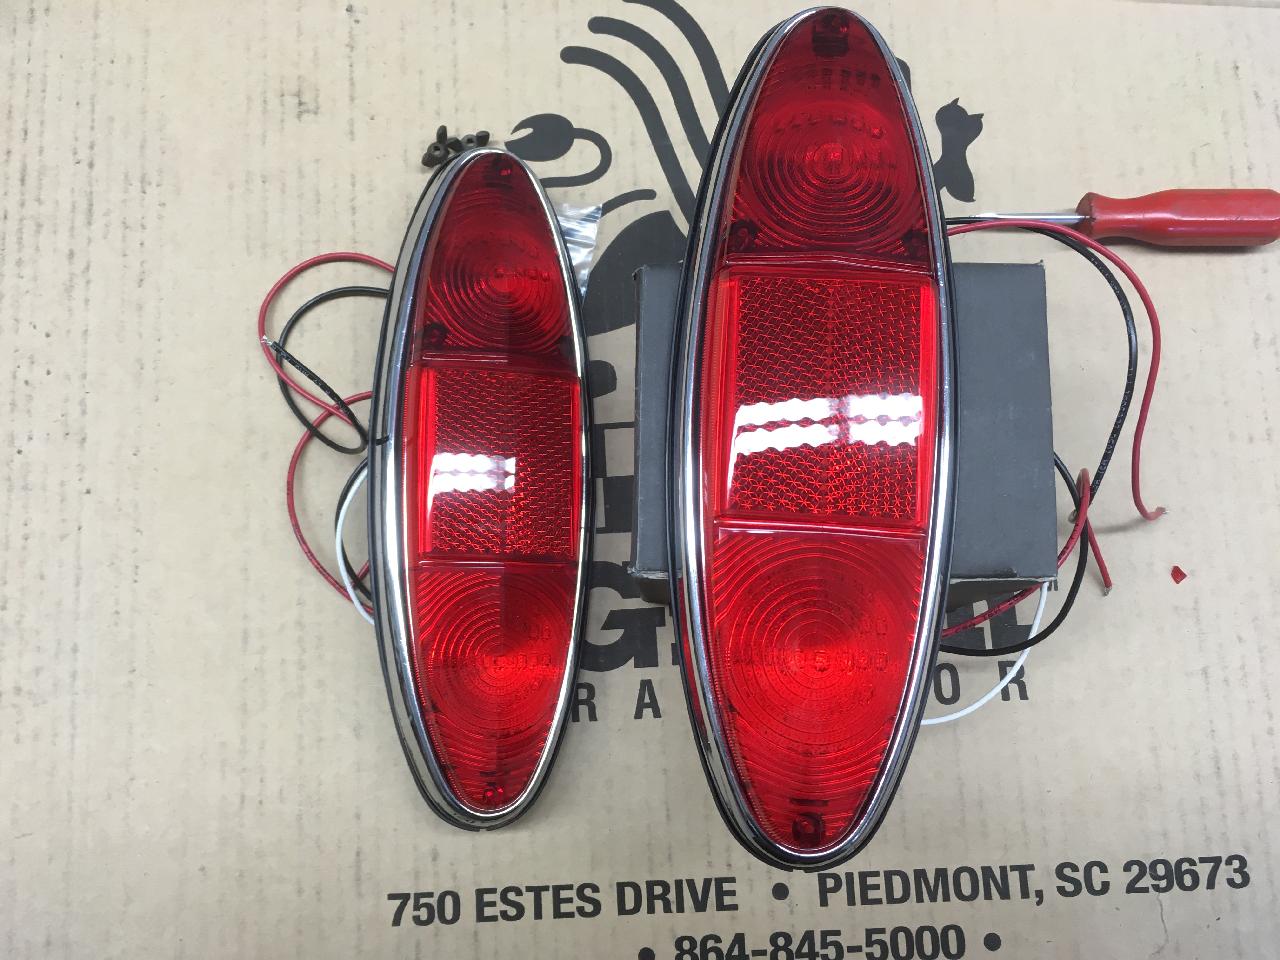 |
| Repeating for the front parking lights, here is one assembled on the right, and the housing, LED panel, gaskets, screws, and lenses on the left. | 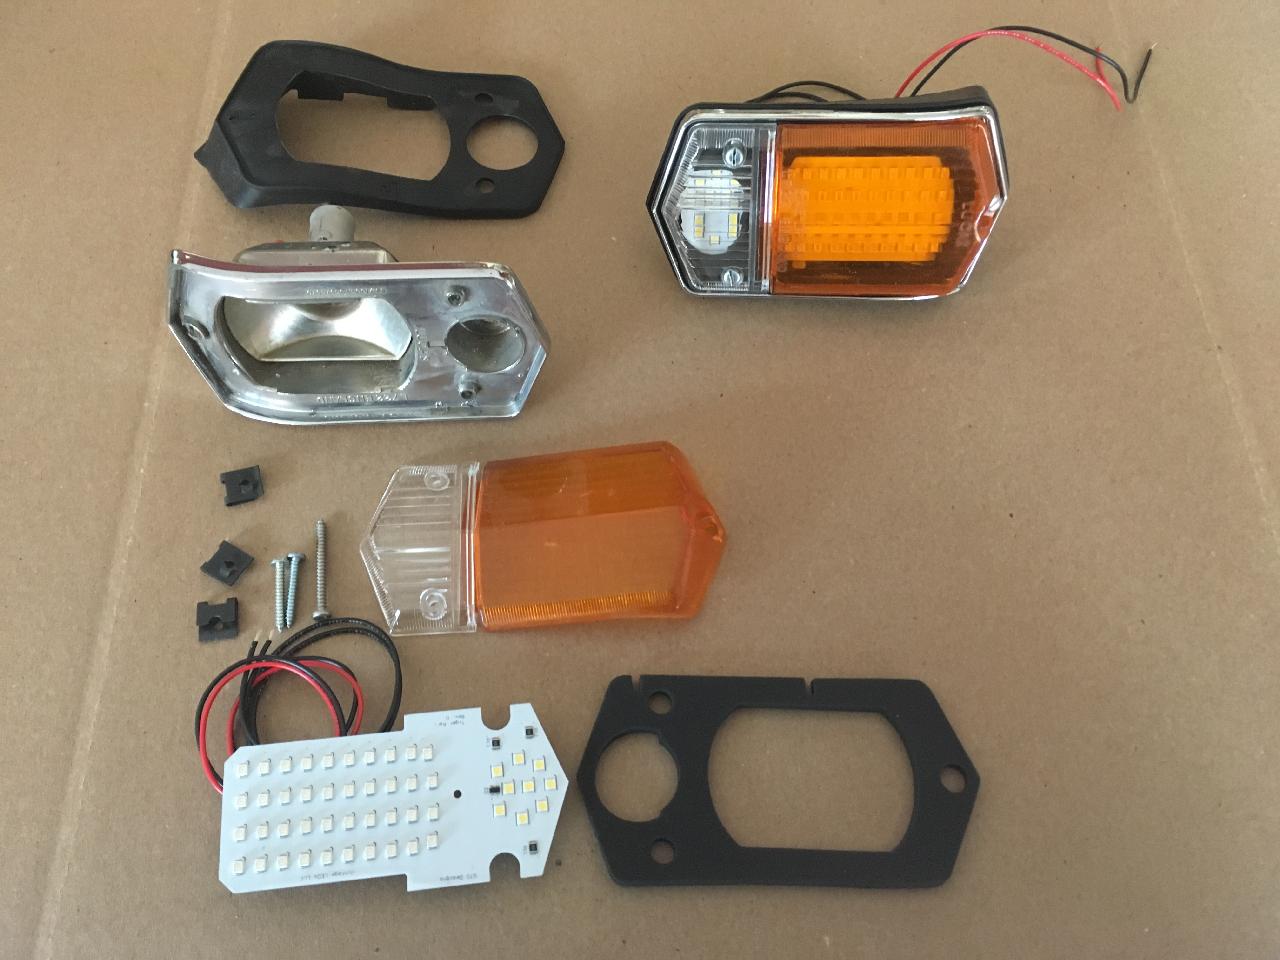 |
| Here you can see how the LED board nestles neatly inside the housing. |  |
| Done! Well, mostly. These will come apart again for some chrome polish and sealing the sockets where the wires exit the housing. |  |